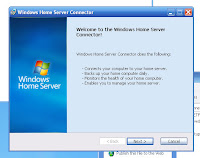
 Windows Home Server comes with a "Connector" which is intended to be installed on the other computers in your home network.
Windows Home Server Connector "backs up your home computer daily" to the Windows Home Server. In addition, it allows the Windows Home Server to "monitor the health of your home computer."
I was a little dismayed to find out that Windows Home Server does not support 64-bit operating systems such as Vista Ultimate x64 on Nighthawk. I was not aware of this limitation and after I attempted the installation, Nighthawk locked up hard, ignoring any keyboard or mouse input. Nighthawk had to be reset to recover.
Microsoft has not announced any plans on supporting 64-bit systems with Windows Home Server which is a shame.
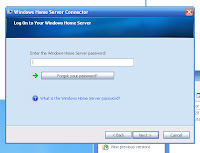 I restarted Nighthawk with Windows XP MCE 2005 and installed the Windows Home Server. It can be installed from a CD or from the "Shared folder for software installation programs" on the Windows Home Server. I chose the latter.
It is clear that the Windows Home Server connector is meant to be installed by the Windows Home Server "administrator" because the first thing it prompts you for is the password for the administrator.
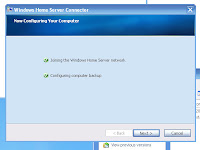 After the administrator's password is correctly entered, Windows Home Server Connector links your home computer to the server and configures your computer backup.
A shortcut to the "Shared Folders on Server" is added to your desktop and a "Quick Launch" icon is added to your computer's Start bar. This icon allows you to:
- Start the Windows Home Server Console"
- Backup Now...
- View Backup Status
- Update Password...
- Access the Shared Folders, and
- Display Help information
 The first thing you will need to do is add a "User Account" for the computer's user, if you haven't already done so. Windows Home Server allows you to define a maximum of 10 user accounts that can access your home server.
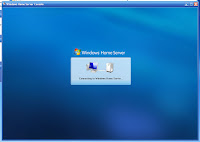
Start the Windows Home Server Console and upon entering the administrator's password, the console will connect to your home server.
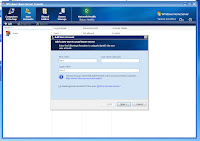 Select the "User Accounts" page and click on "+ Add" to add a new user to your home server.
You will be prompted to enter the user's "First Name," "Last Name" (optional) and "Logon name."
Hint: Enter a "logon name" which matches the user's account on their computer.
You may also enable "Remote Access" for this user. (More on this subject later.)
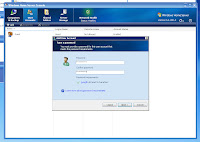 Press the "Next" button and you will be prompted to enter the user's password twice (the second time for confirmation).
"If you create a user account and password on the server that matches a user account and password on your home computer then you will not be prompted for authentication each time you access a shared folder on the server."
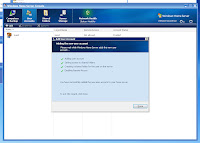 The Windows Home Server Console will then add the user account, set access to shared folders, create a shared folder for the user on the server, and enable remote access (if you enabled this option for the user.)
That's it! That's how easy it is to define a user to your Windows Home Server.
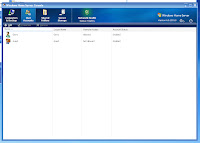 The Windows Home Server Console is only intended to be used by the home server administrator. In fact, other users defined to your home server have no access to the home server console.
Next up: Personal folders and controlling access to Shared Folders.
No comments:
Post a Comment